How to Host a Static Website on Azure Blob Storage

🚀 Cloud Enthusiast | Turning ideas into scalable solutions ☁️ | Passionate about shaping the future of tech with cloud computing 🌐 | Always exploring the next big thing in the digital sky ✨"
Hosting a static website on Azure Blob Storage is a straightforward and cost-effective way to serve static content (HTML, CSS, JavaScript, and image files) directly from a storage container. This approach is ideal for projects that don't require server-side processing. In this article, we'll walk through the steps to set up and host a static website on Azure Blob Storage.
Prerequisites
Before we begin, ensure you have the following:
An Azure subscription
A storage account in Azure
Static website (download from Sneat - Free Responsive Bootstrap 5 HTML5 Admin Template)
Step 1: Create a Storage Account
Sign in to Azure Portal: Open your web browser and go to the Azure Portal. Sign in with your Microsoft account credentials1.
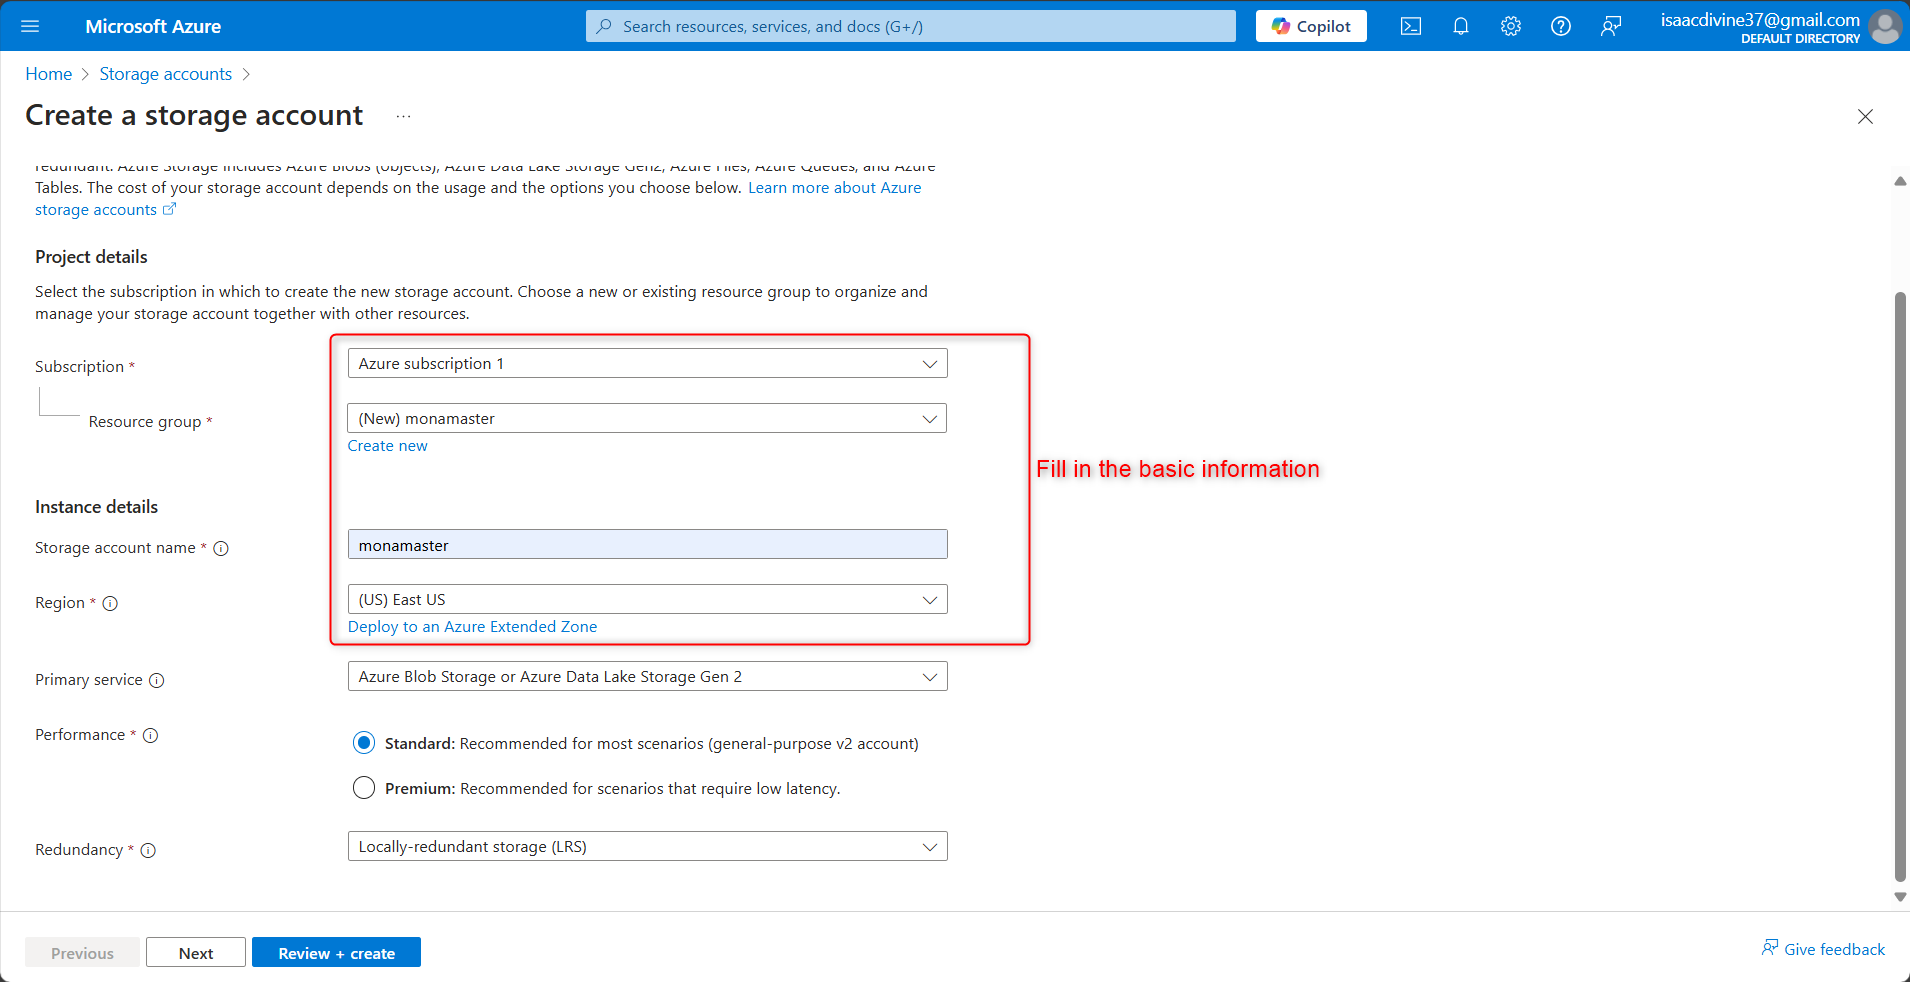
Create a Storage Account: Click on "Create a resource" and select "Storage account."
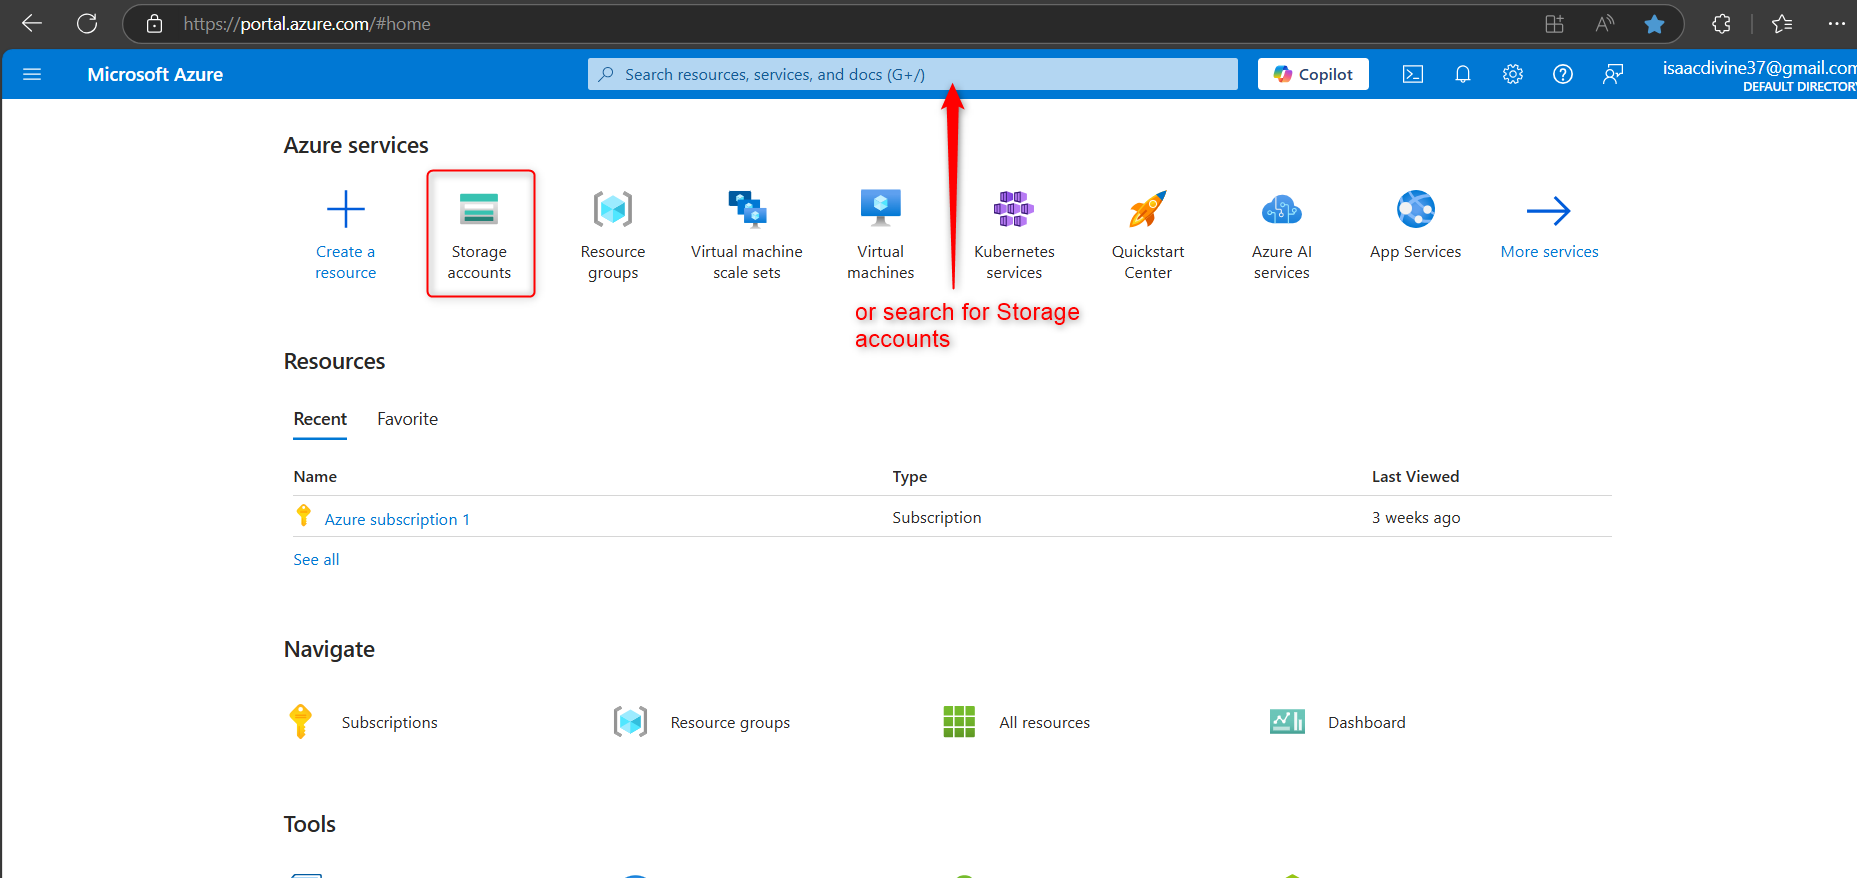
-Provide a name, select your subscription, resource group, and region, then click "Create.
Step 2: Enable Static Website Hosting
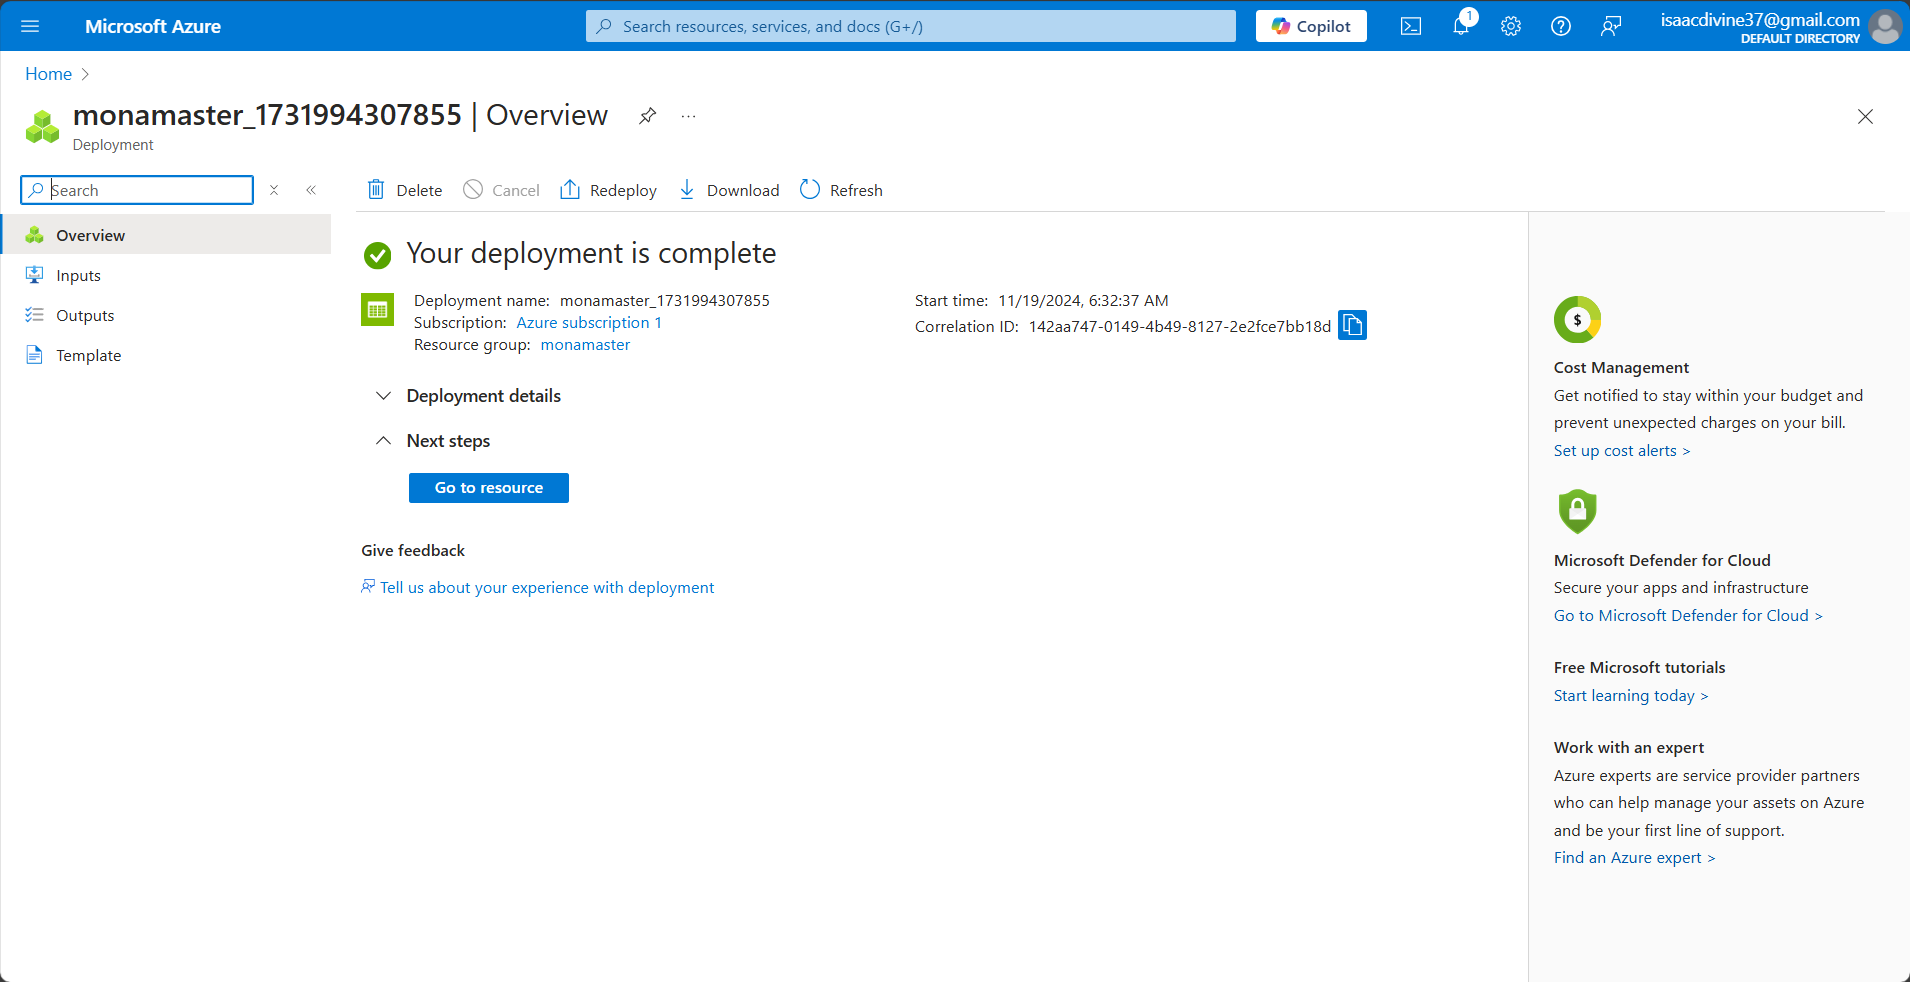
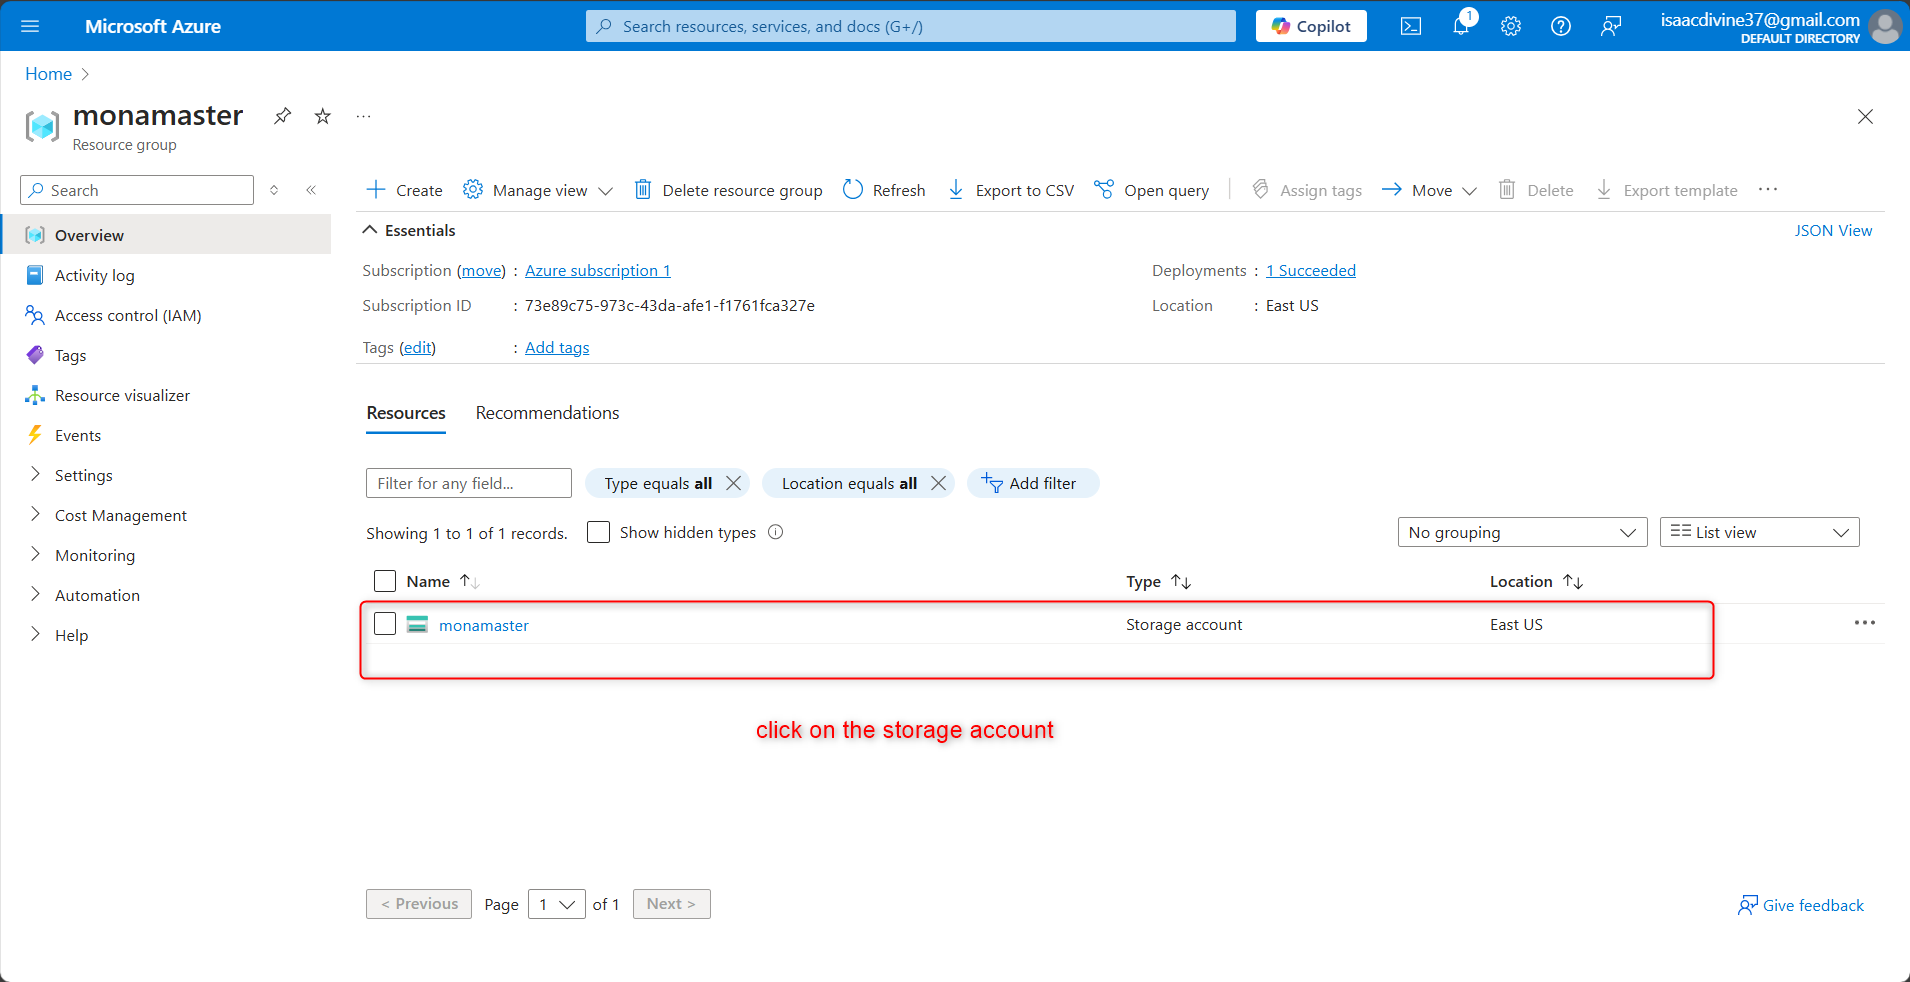
Navigate to Your Storage Account: Once your storage account is created, go to the "Storage accounts" section and select your newly created account
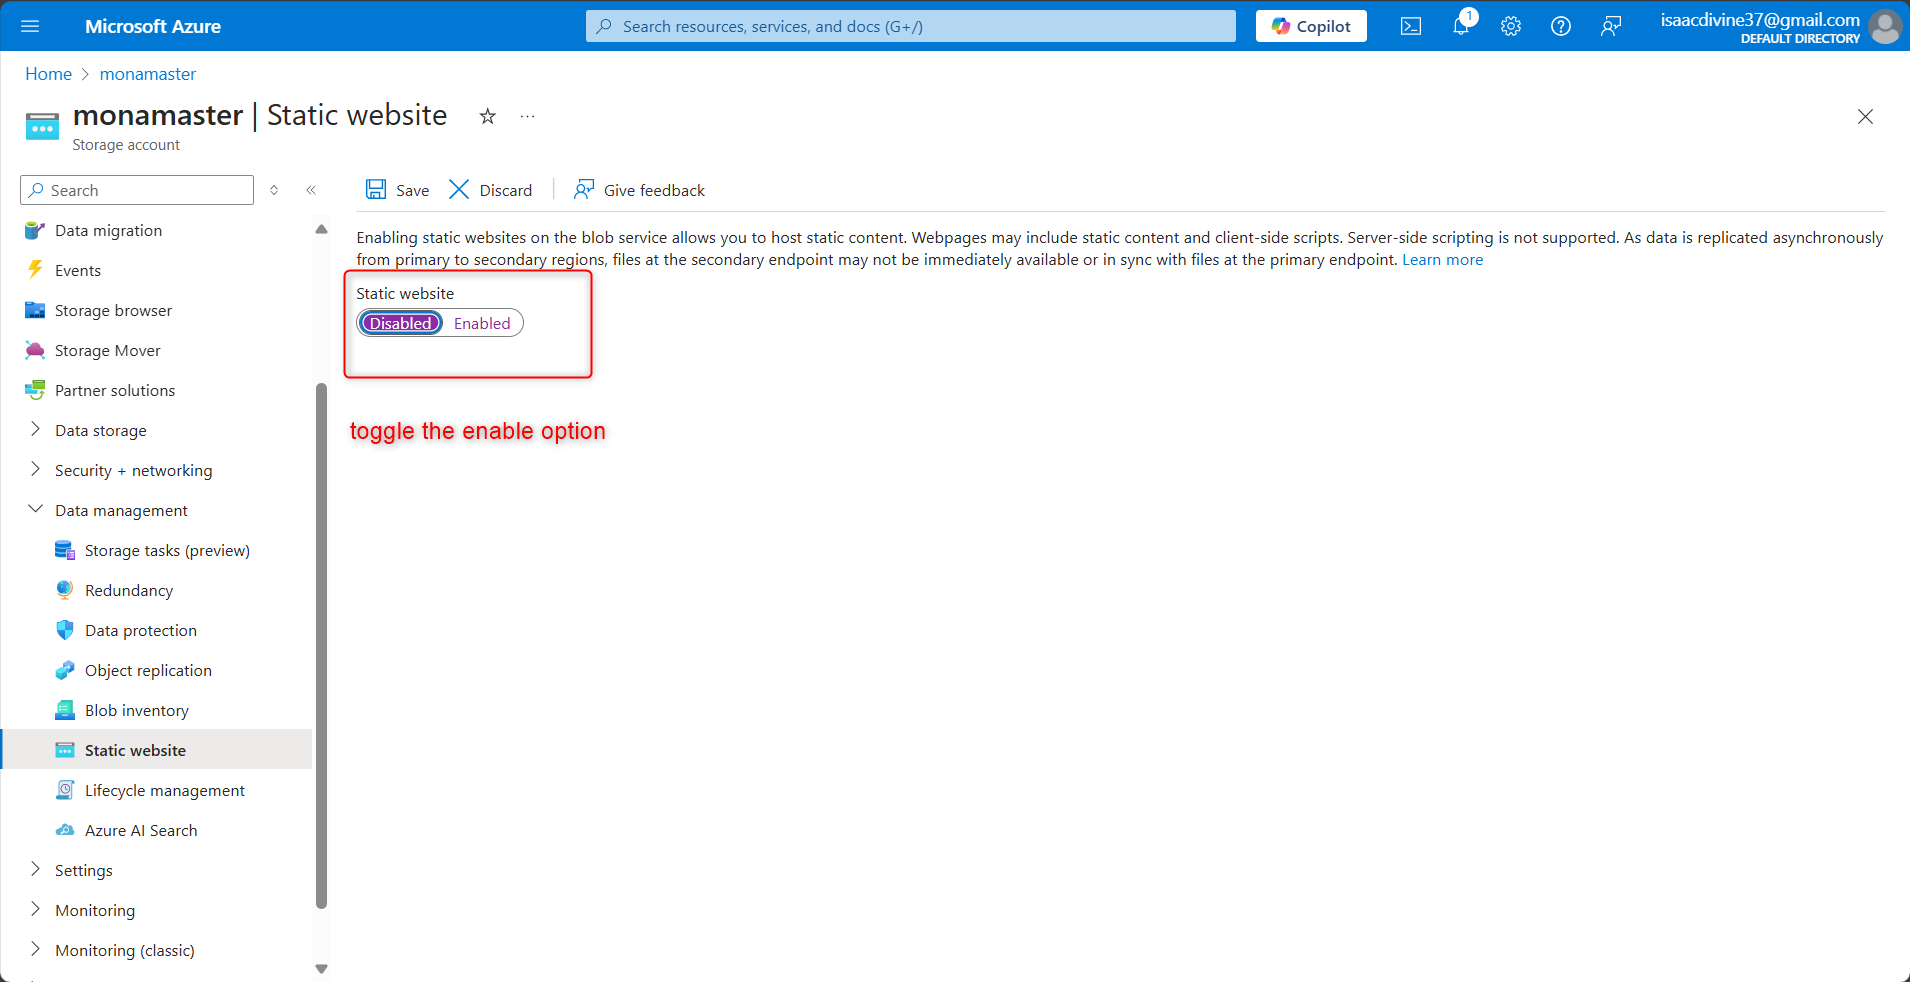
Enable Static Website Hosting: In the account overview, locate the data management tab, find the "Static website" option under the "Settings" section.
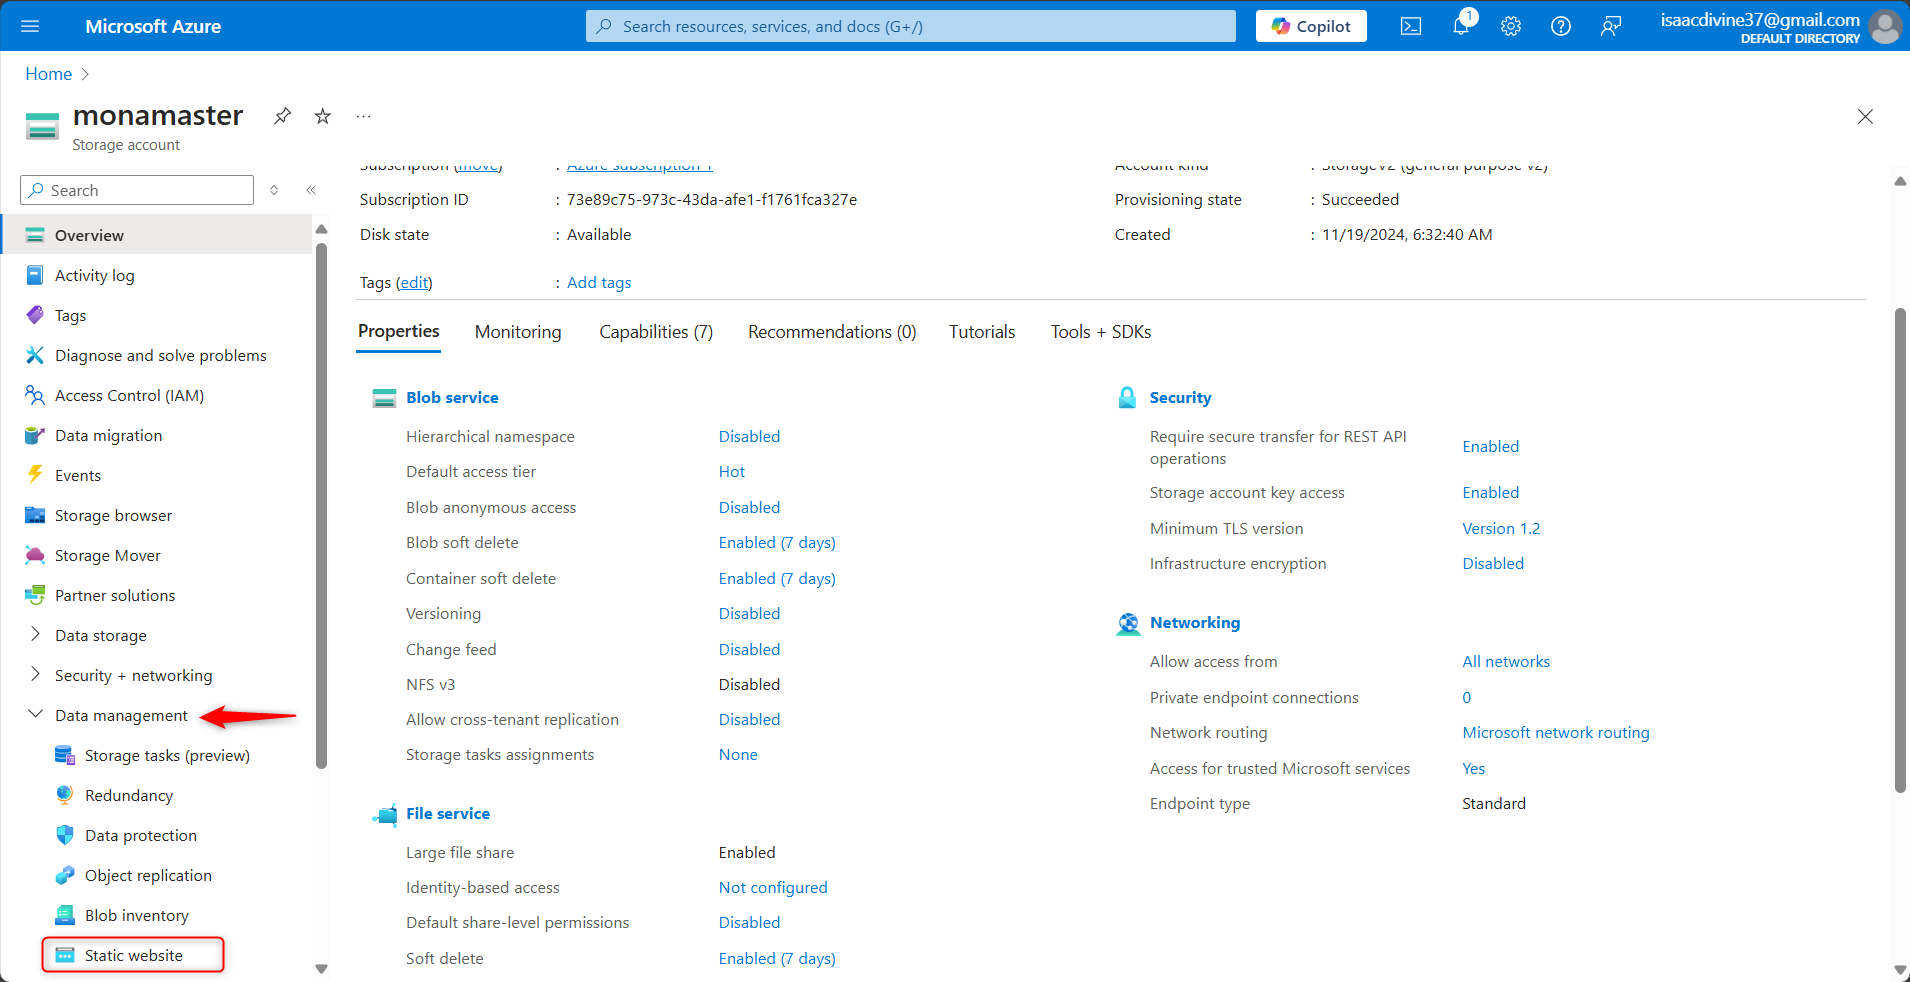
Click on it and toggle the switch to "Enabled."
Configure Index and Error Documents: Specify the names of your index document (e.g.,
index.html) and error document (e.g.,404.html). Click "Save" to apply the changes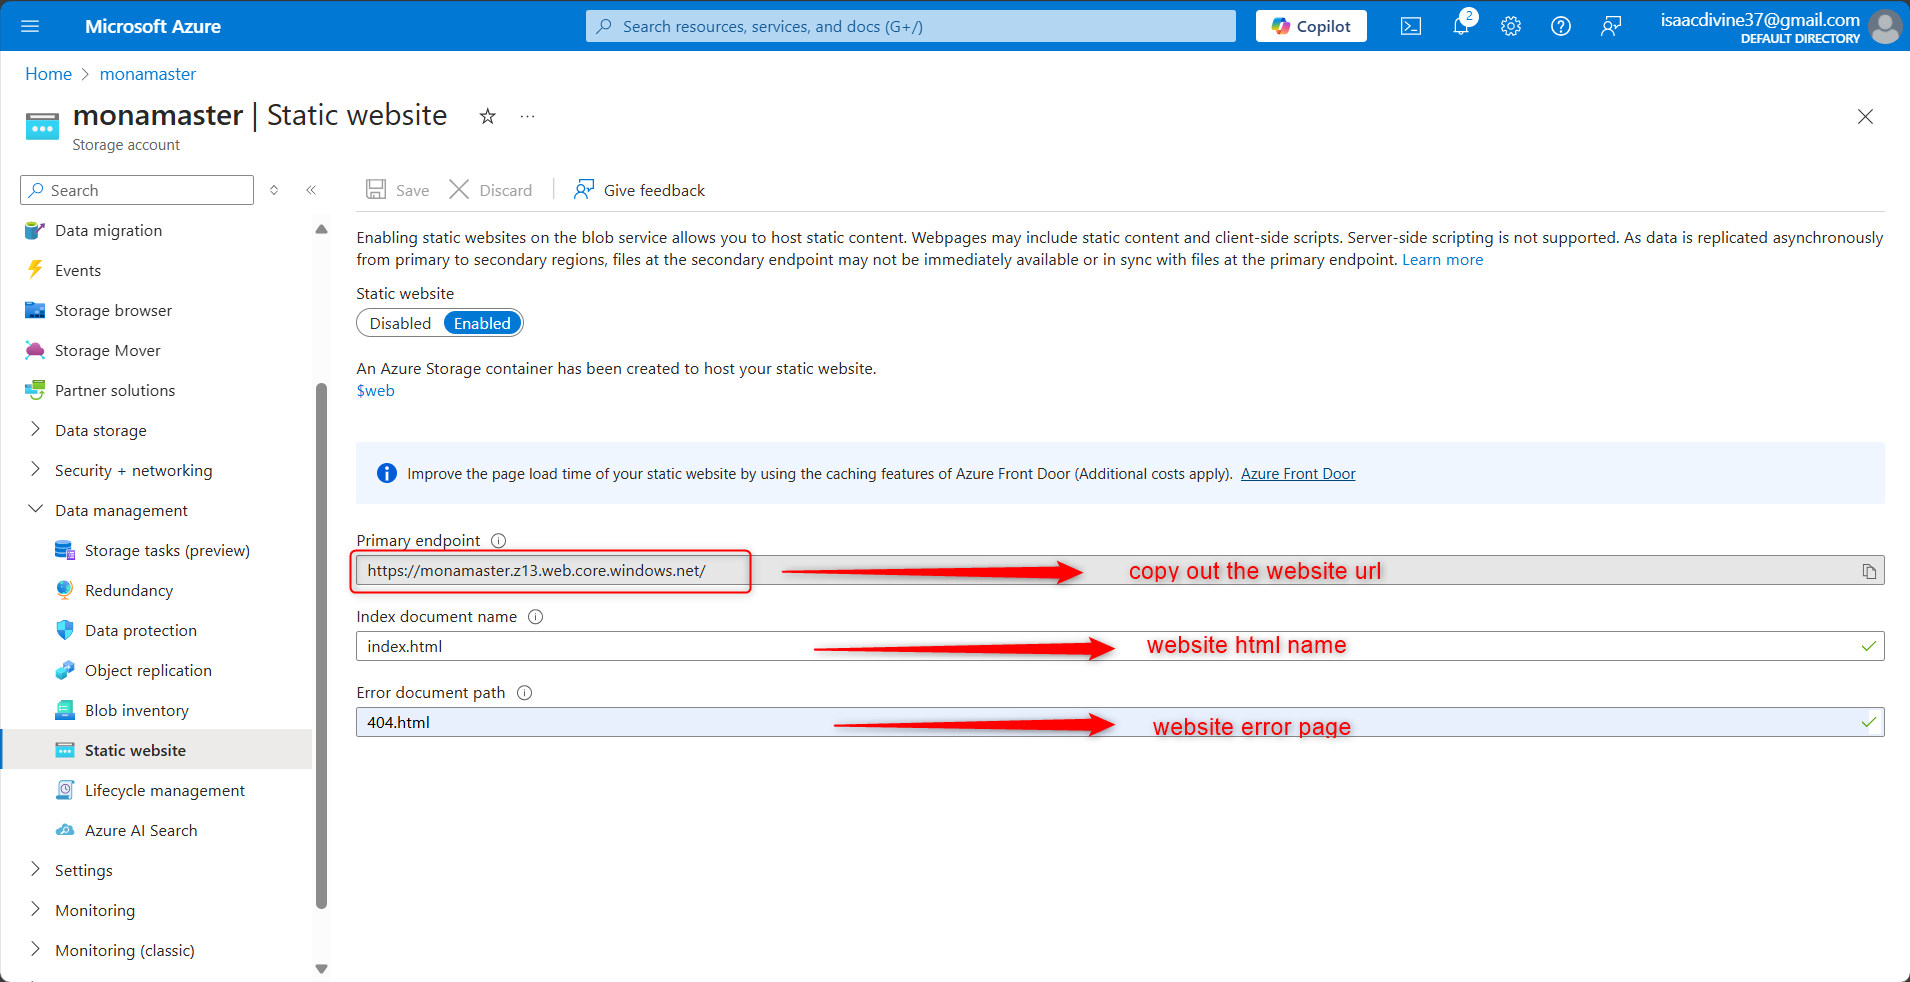
Step 3: Upload Your Website Files
Create a Container Named
$web: Azure will automatically create a container named$webfor your static website files.Upload Files: You can upload your files using the Azure portal, Azure CLI, PowerShell, or tools like AzCopy or Azure Storage Explorer. For example, to upload files using the Azure portal:
Navigate to the
$webcontainer under your storage account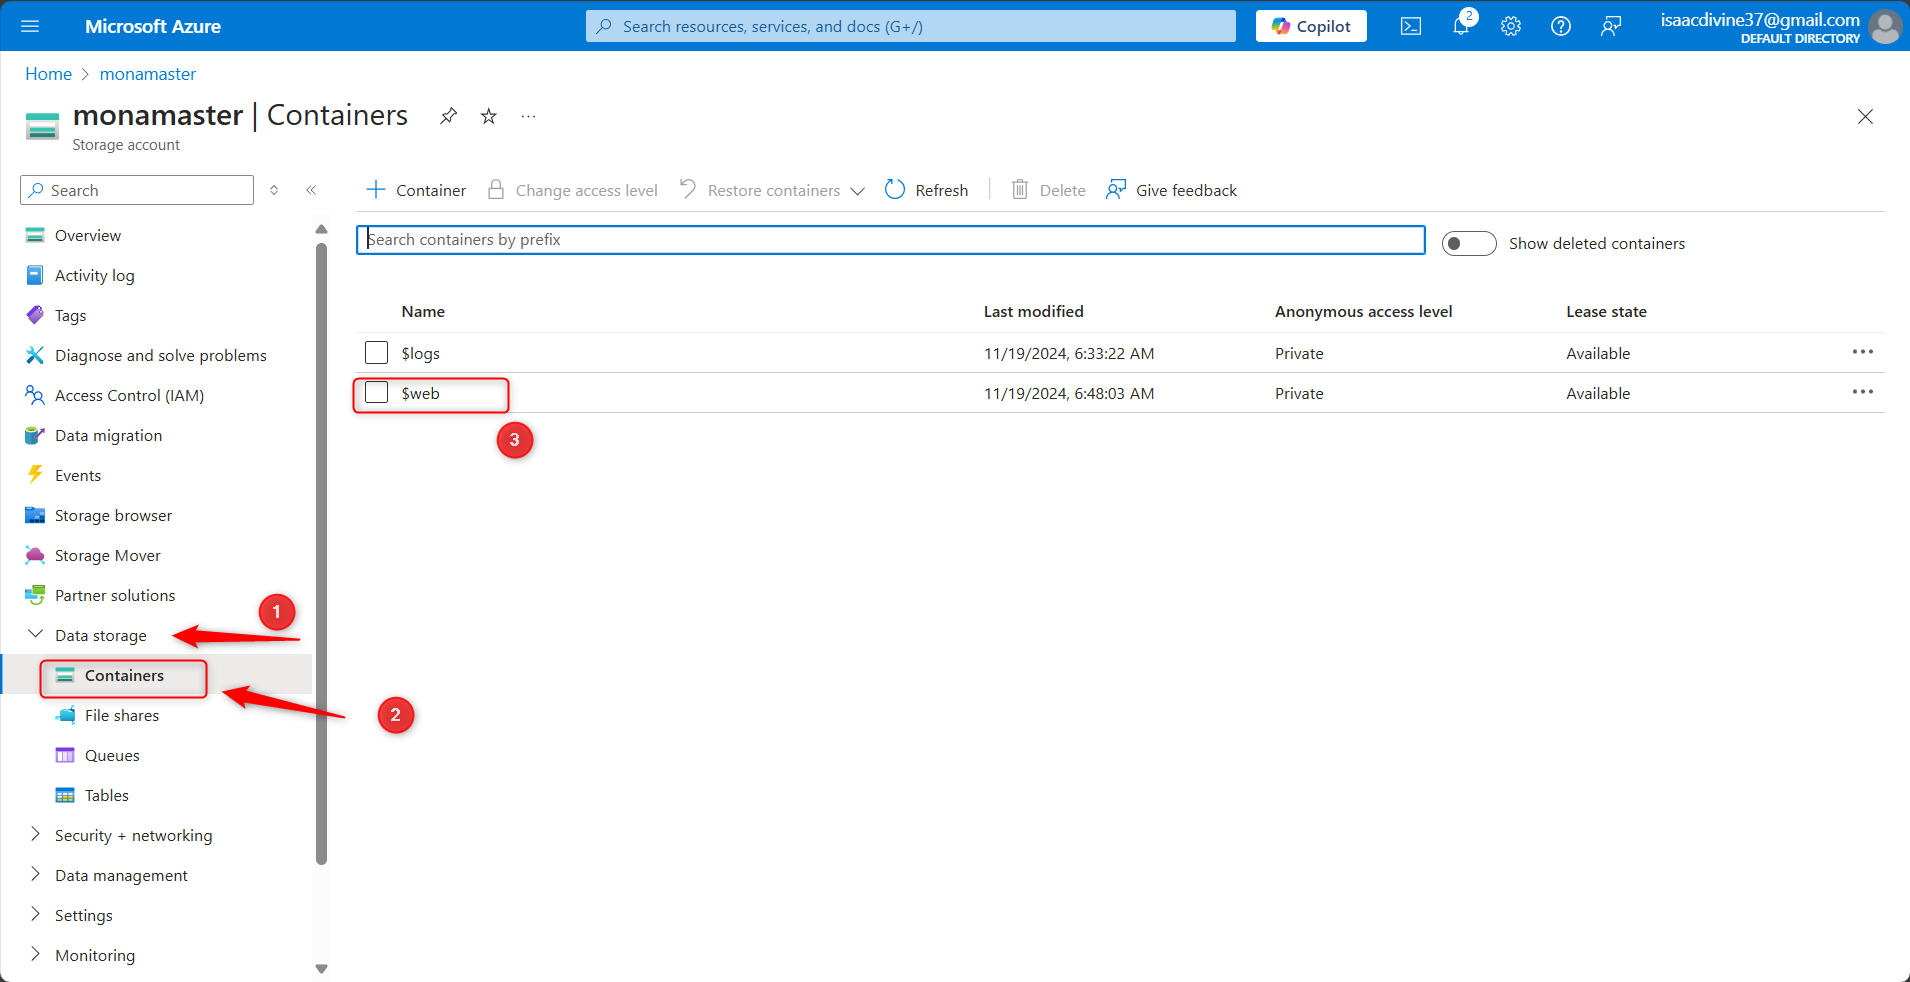
Click on "Upload" and select the files you want to upload
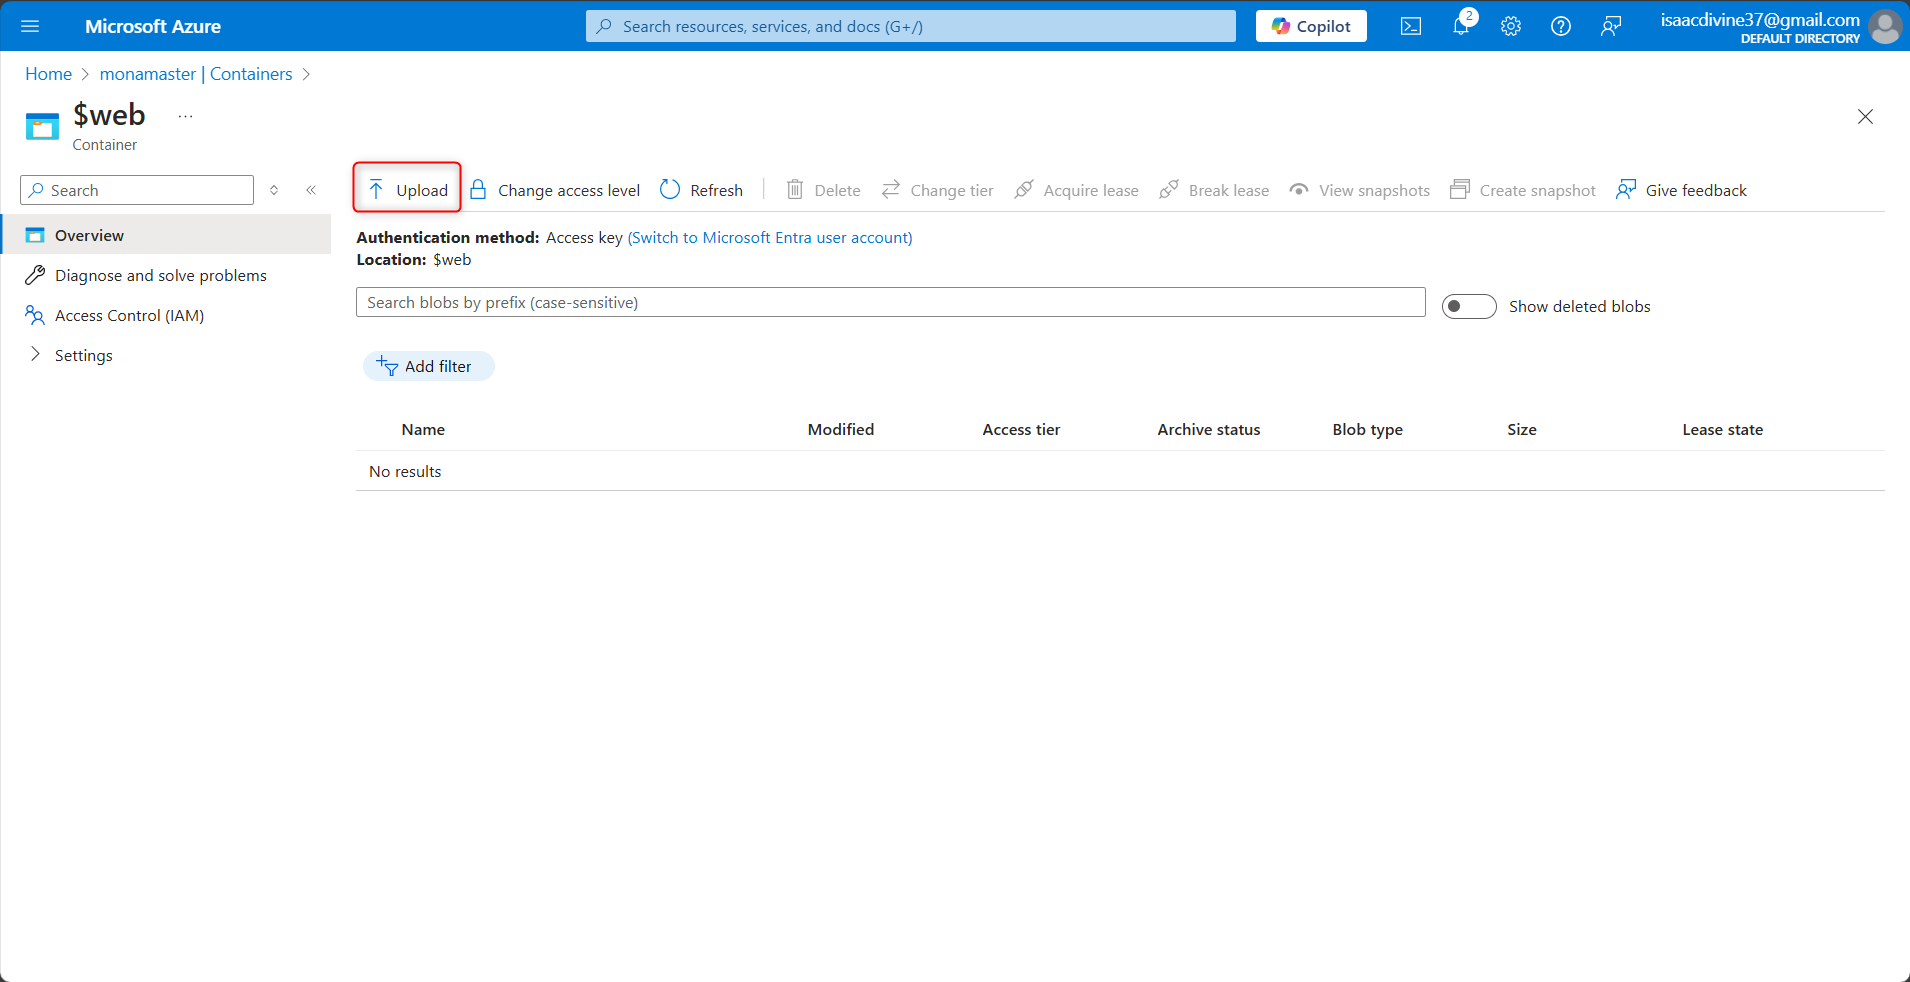
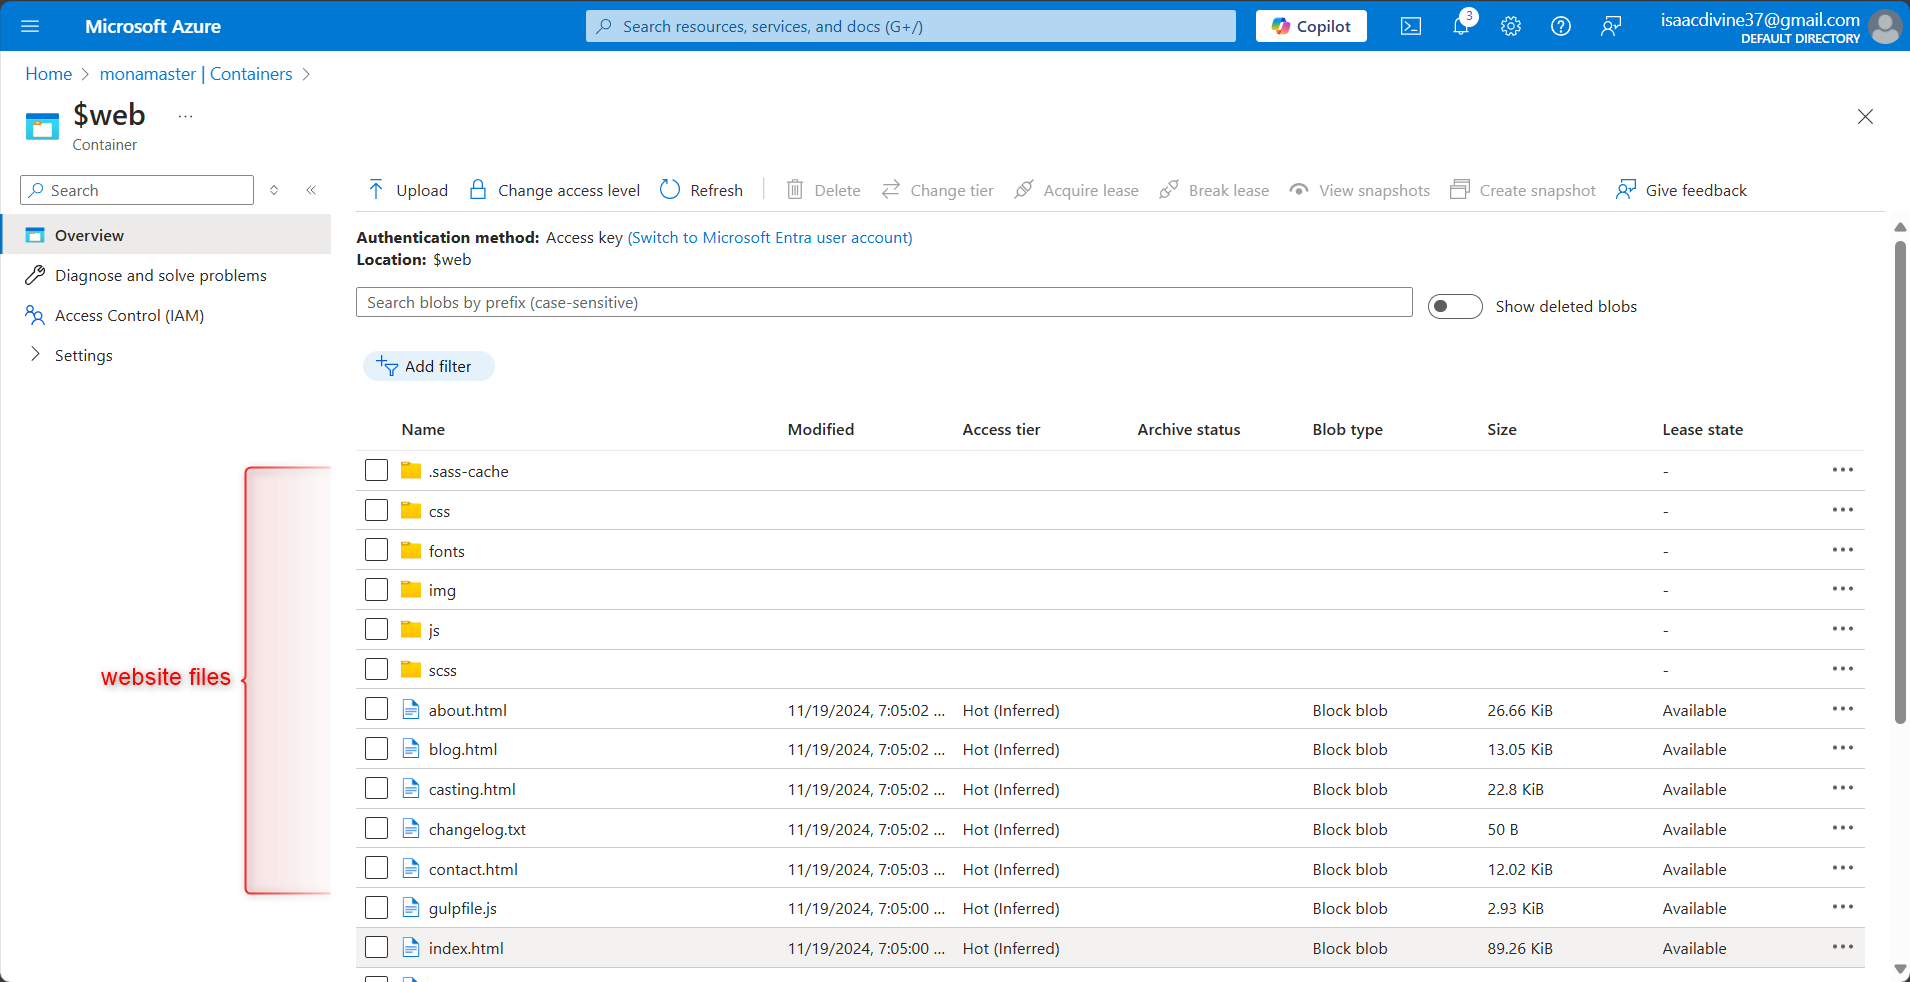
.
Step 4: Access Your Static Website
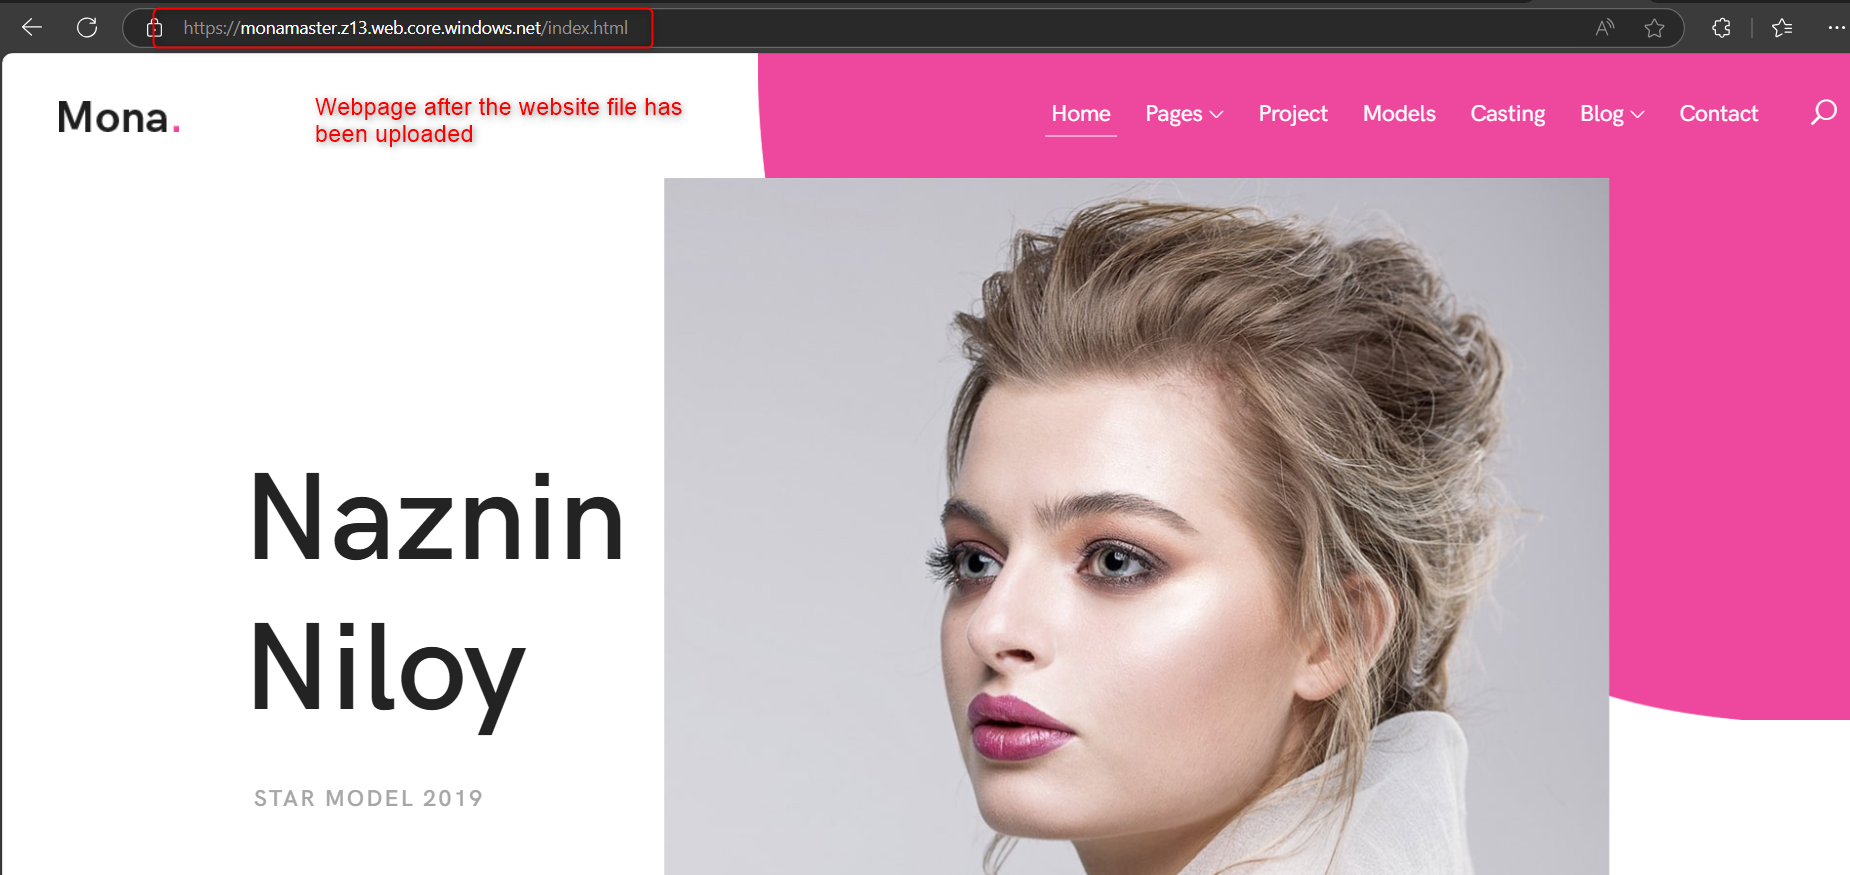
Find the Website URL: Go to your storage account overview and find the "Static website" section. Here, you'll see the endpoint URL for your static website1.
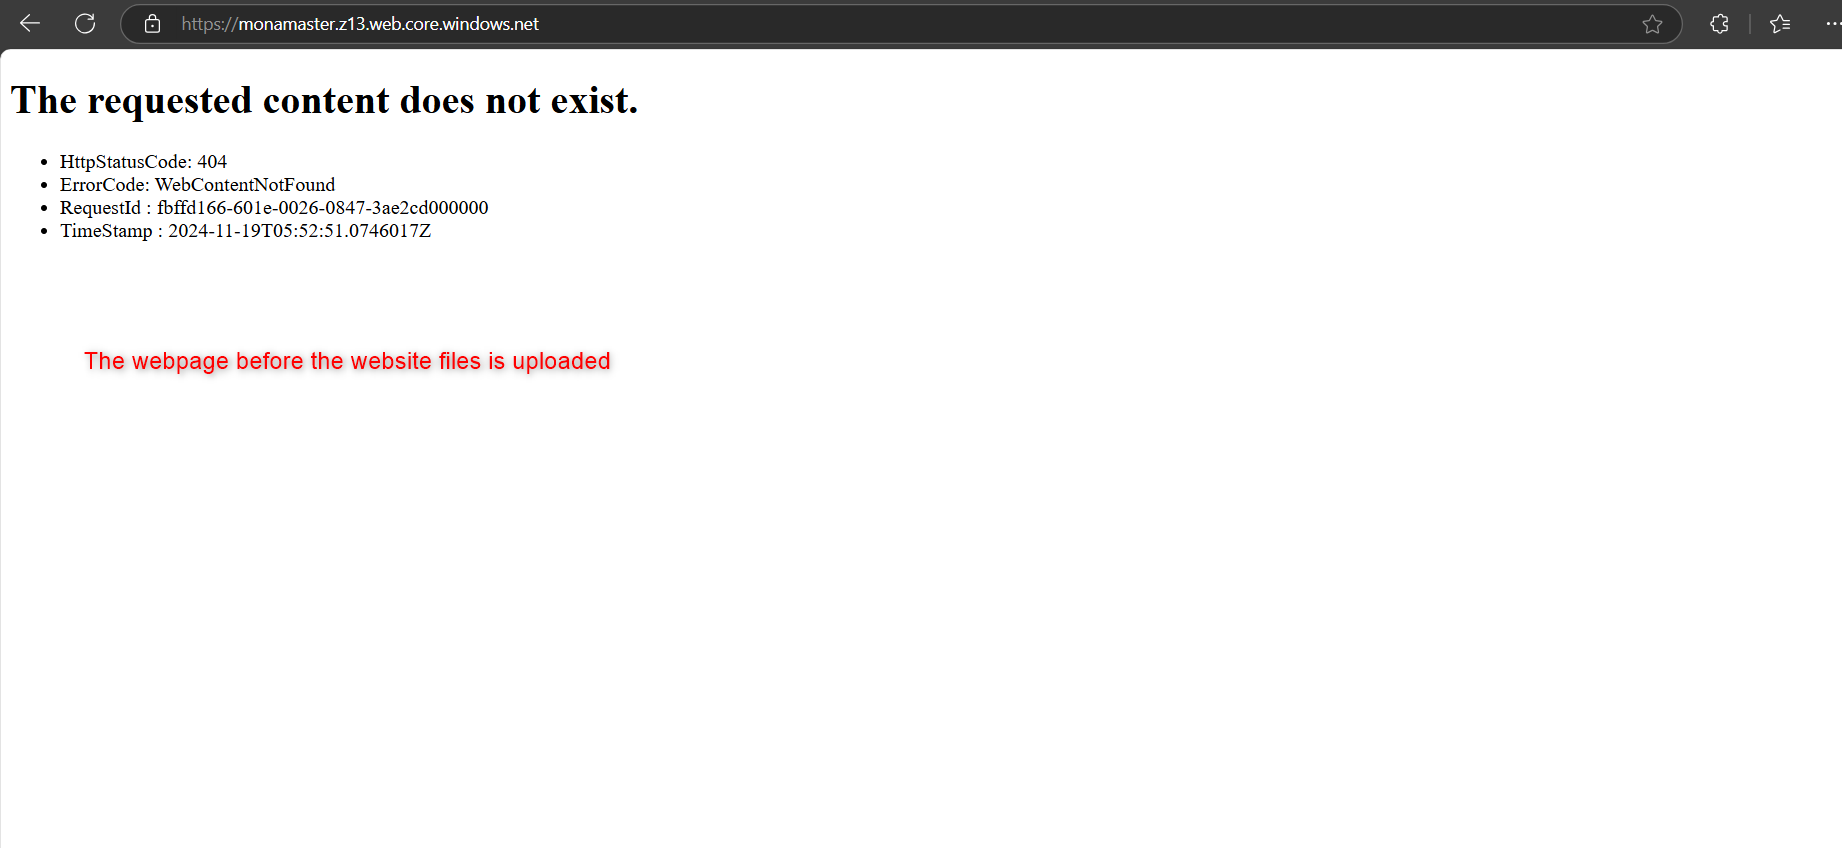
View Your Website: Open your web browser and navigate to the endpoint URL to view your static website
Conclusion
With these steps, you've successfully hosted a static website on Azure Blob Storage! This approach is ideal for serving static content without the need for a web server. For more information, you can check out - https://learn.microsoft.com/en-us/azure/storage/blobs/storage-blob-static-website-host


